Why we use expired propane tanks
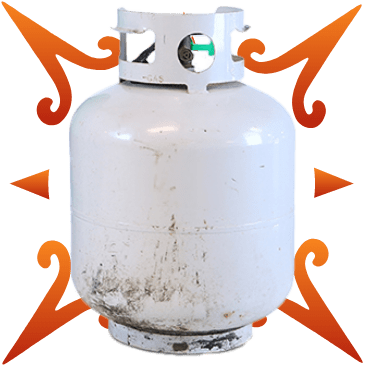
At Artisan Instruments we handcraft our Singing Steel tongue drums in our workshop in British Columbia, Canada from expired propane tanks that we rescue from the landfill. Why would we do that instead of using new steel we could order from a factory? That’s a great question because it would be much easier! Here are just a few of the reasons:
- The quality of the steel used for propane tanks is much higher than what is used in factory produced shells.
- The thickness of the steel makes for beautiful sound quality and resonance.
- We love that we are converting trash to treasure!
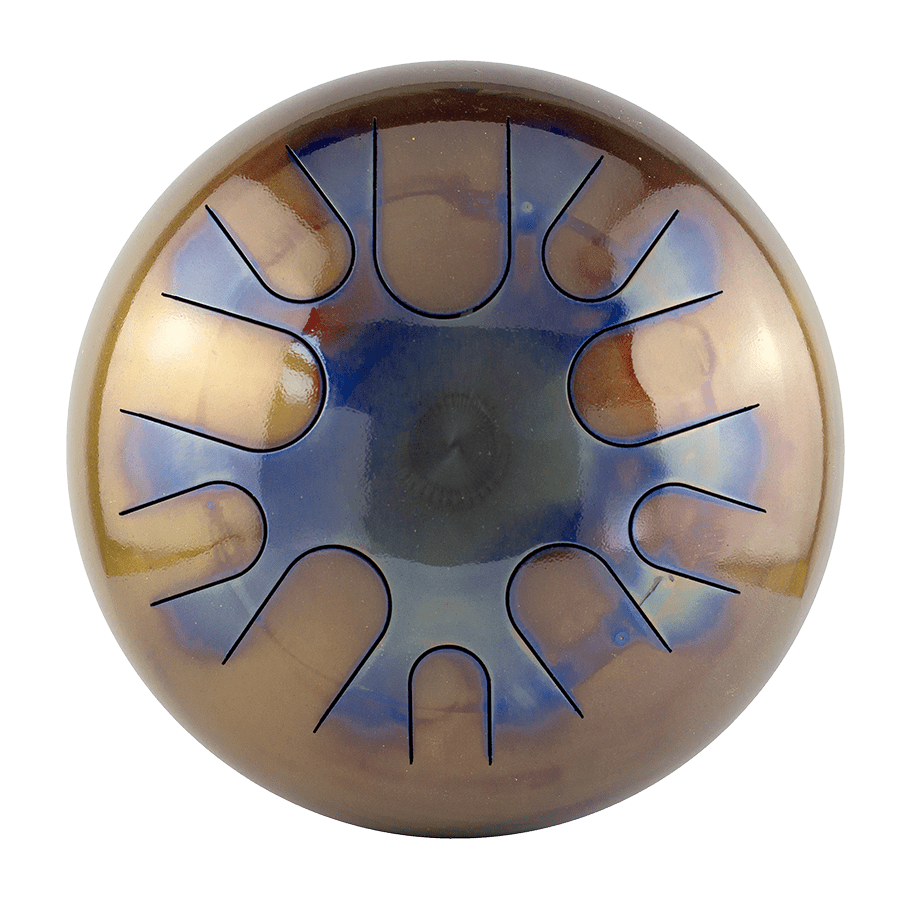
- Each drum we make is unique and has its markings from its previous life so no two drums will ever be the same.
The video below shows the process of turning a propane tank into a beautiful piece of musical art from the initial stage up to getting it ready to paint with our durable powder coating finish.